


23.09.26
How Basement Underpinning Works: Step-by-Step Guide
In older Toronto homes, especially in the downtown core, basements are often too low, too damp, or too limited to use well. Many homeowners want more ceiling height, a safer structure, or a better layout for a family room, home office, or secondary suite. That is where basement underpinning comes in.
Basement underpinning is the process of strengthening and extending the existing foundation so the basement floor can be lowered safely. In simple terms, the home stays in place while the foundation is reinforced in carefully planned stages. In Toronto, this work usually involves building permits, detailed drawings, inspections, and a strict sequence of excavation and structural work. The City of Toronto’s residential underpinning guidance specifically calls for plans showing the existing and proposed construction and a numbered sequence of underpinning stages, and the City also lists basement underpinning and foundation excavation among the types of work that require a building permit.
For homeowners, the biggest benefit is straightforward: underpinning can turn an underused basement into a legal-height, more functional part of the home. For properties in tight downtown neighborhoods where adding upward or outward is difficult, basement lowering can be one of the most practical ways to add usable square footage while improving the building’s structure at the same time.
Why homeowners choose basement underpinning in Toronto
Many Toronto houses were built long before today’s expectations for finished basements. It is common to find low ceilings, uneven floors, aging foundations, and moisture problems. In these homes, underpinning is often part of a bigger plan that may also include waterproofing, drainage upgrades, insulation, radiant floor heating, or a full basement renovation.
Homeowners usually pursue underpinning for a few key reasons:
- to create a legal or more comfortable ceiling height
- to make room for a finished basement or secondary suite
- to strengthen an aging foundation
- to fix structural concerns before major renovation
- to combine structural work with drainage and moisture protection
This is also why many homeowners look for a contractor who can connect structural work with the next phase of the project. A well-planned underpinning Toronto project should not treat structure, waterproofing, and renovation as separate decisions when they are closely tied together.
Step 1: engineering review, site assessment, and project planning
Every successful underpinning project starts before any concrete is broken. The first stage is an assessment of the house, the existing foundation, soil conditions, access limitations, and the desired finished basement height. In dense parts of Toronto, site planning matters even more because houses are often attached or closely spaced, access is limited, and party-wall conditions may affect how the work is sequenced.
At this stage, the team typically reviews:
- existing basement ceiling height
- thickness and condition of the current slab
- condition of foundation walls
- signs of settlement, cracking, or moisture
- plumbing and drain locations below the slab
- access for excavation and material removal
- the target finished floor level
The goal is to answer two questions early: can the basement be lowered safely, and what sequence will get it done with the least risk? In Toronto, the City’s application materials for residential underpinning call for foundation plans, cross-sections, and staged sequencing information. That reflects how important planning is for this type of work.
Step 2: permits, drawings, and approvals
Before structural work begins, the project usually needs permit-ready drawings and a building permit. Toronto states that a building permit is required for work such as excavating or constructing foundations and for basement underpinning. The City also provides a residential underpinning application guide and permit process information for these projects.
This part of the process often includes:
- measured drawings of the existing basement
- structural drawings showing the underpinning sequence
- permit application documents
- review for zoning and building code compliance
- scheduling required inspections
For homeowners, this stage may feel slow compared with the construction itself, but it is what keeps the job organized and defensible. A rushed permit stage often leads to delays later, especially if the excavation plan, structural details, or drainage strategy are incomplete.
Step 3: preparing the basement and protecting the structure
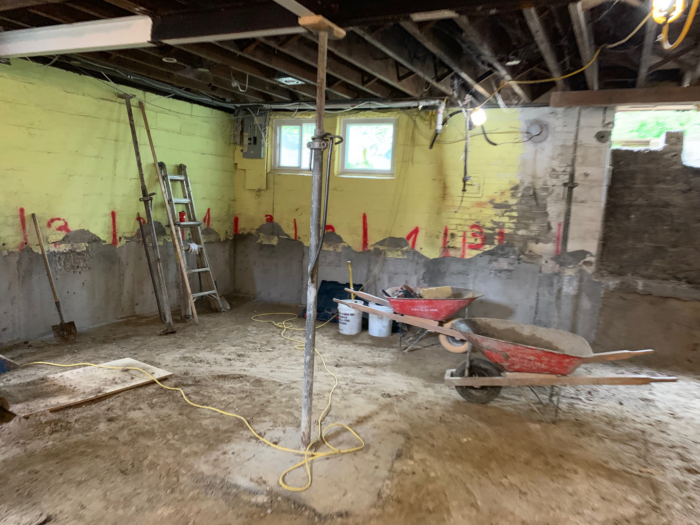
Once permits are in place, the basement is prepared for structural work. That usually means removing finishes, cutting and removing the old slab, exposing portions of the foundation, and setting up temporary supports where needed.
This is also the point where an experienced contractor proves their value. Underpinning is not done by excavating the entire perimeter at once. Instead, it is completed in small, controlled sections so the house remains supported throughout the process. Each section is excavated, reinforced, and filled with new concrete before the next section proceeds.
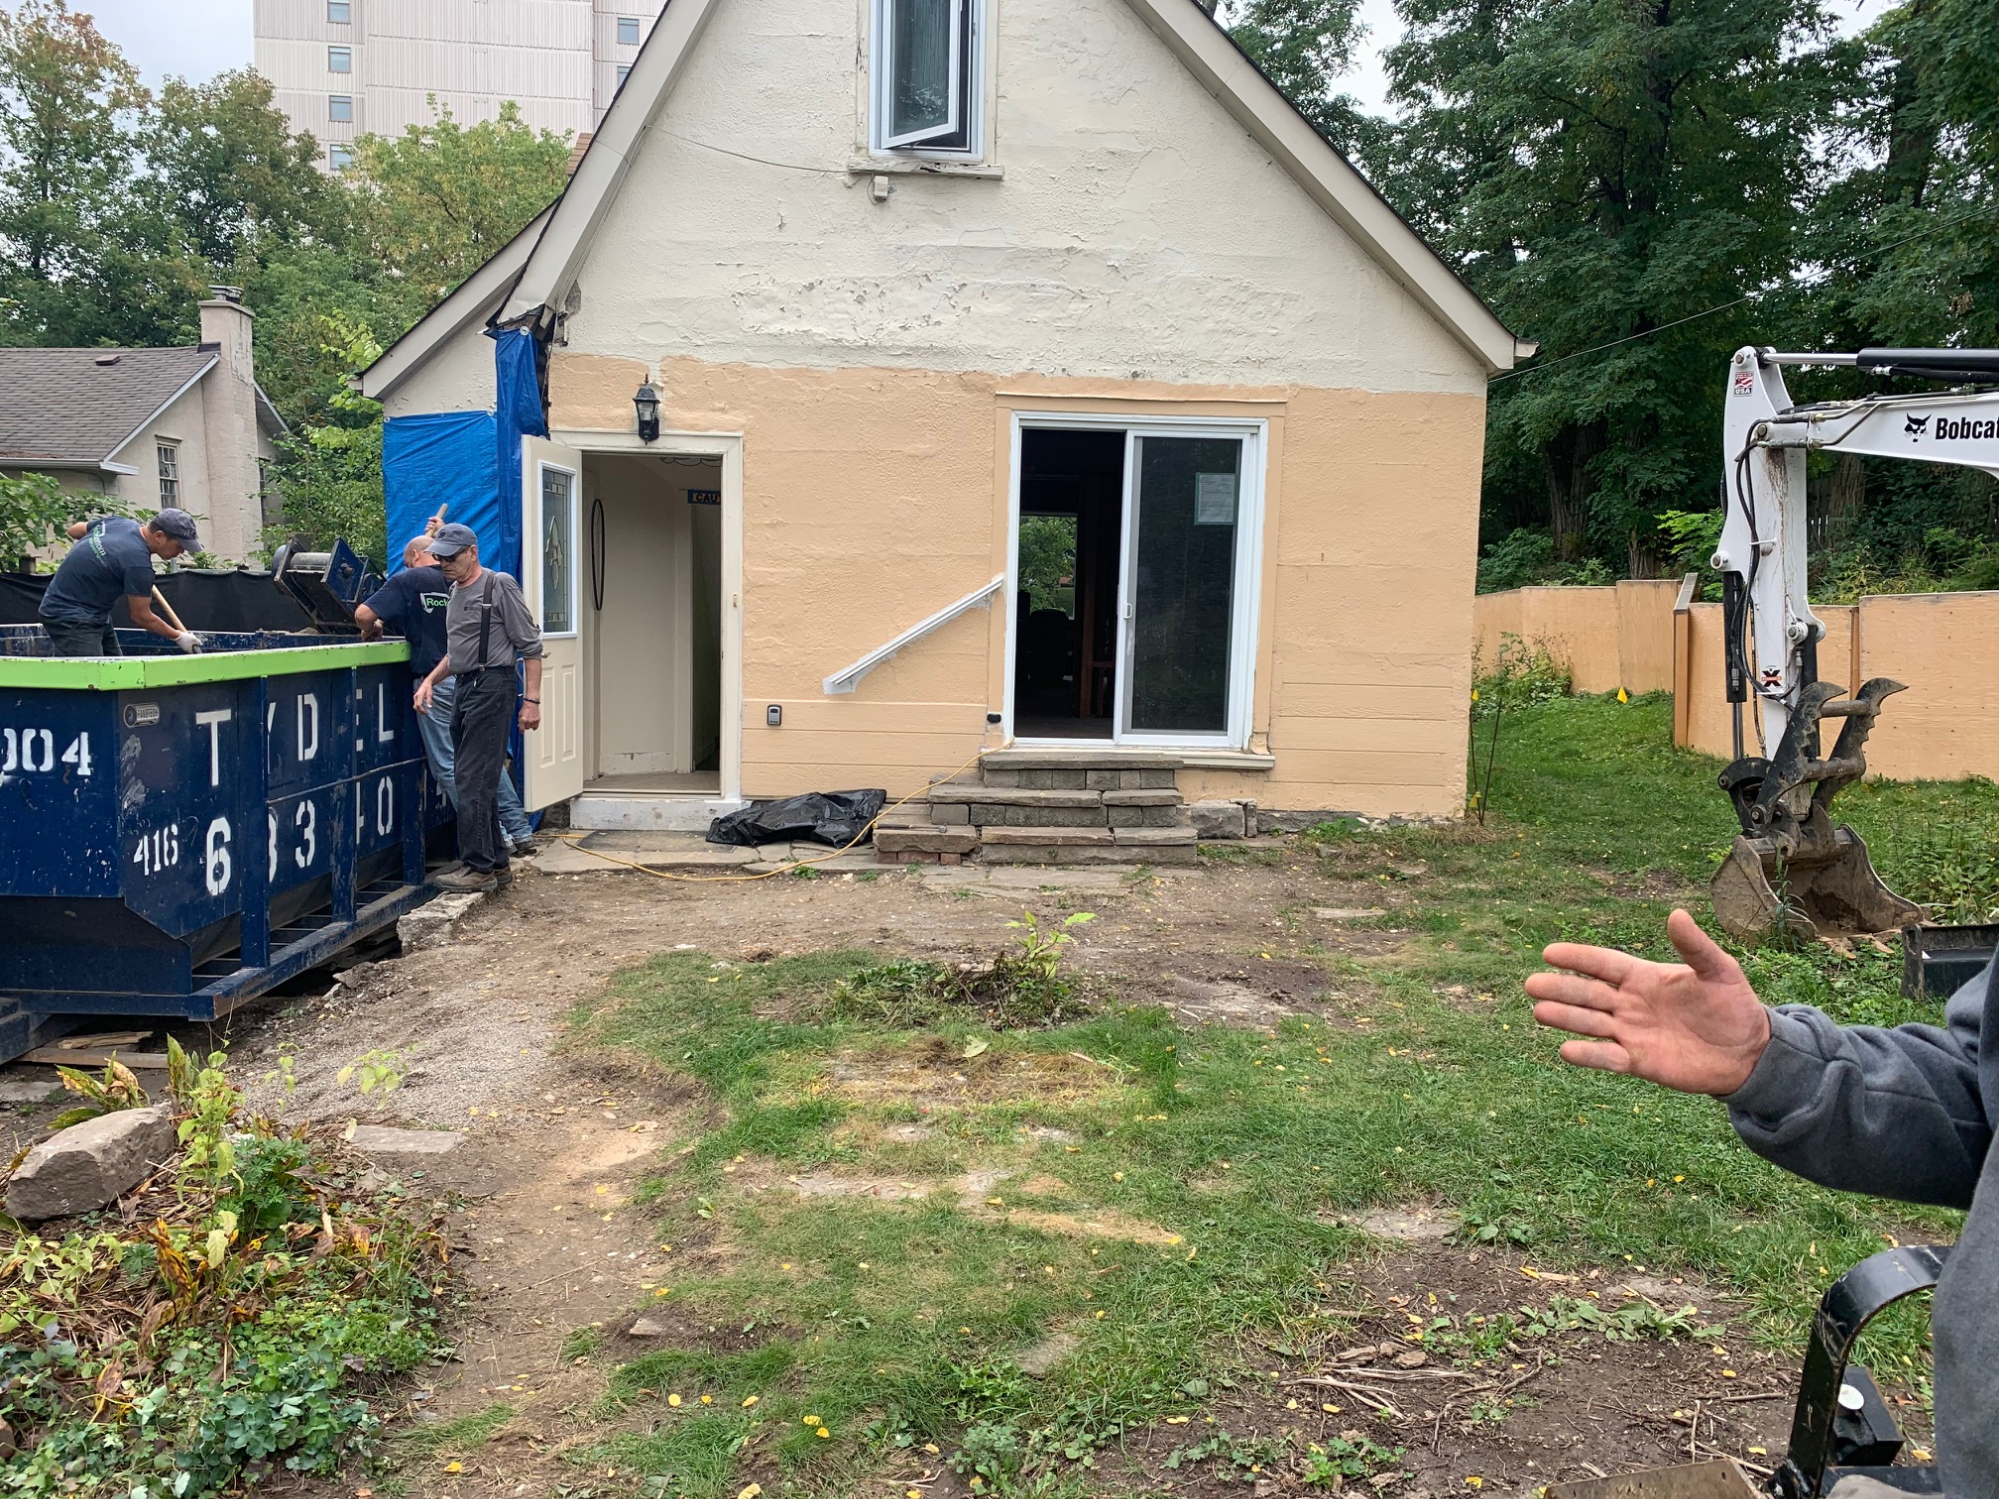
A clean job site matters here more than many homeowners expect. In downtown Toronto homes, access can be tight, neighboring structures may be close, and daily removal of soil and debris affects both safety and workflow. Good site control helps reduce disruption while keeping the project moving.
Step 4: excavating in stages and pouring new underpinning sections
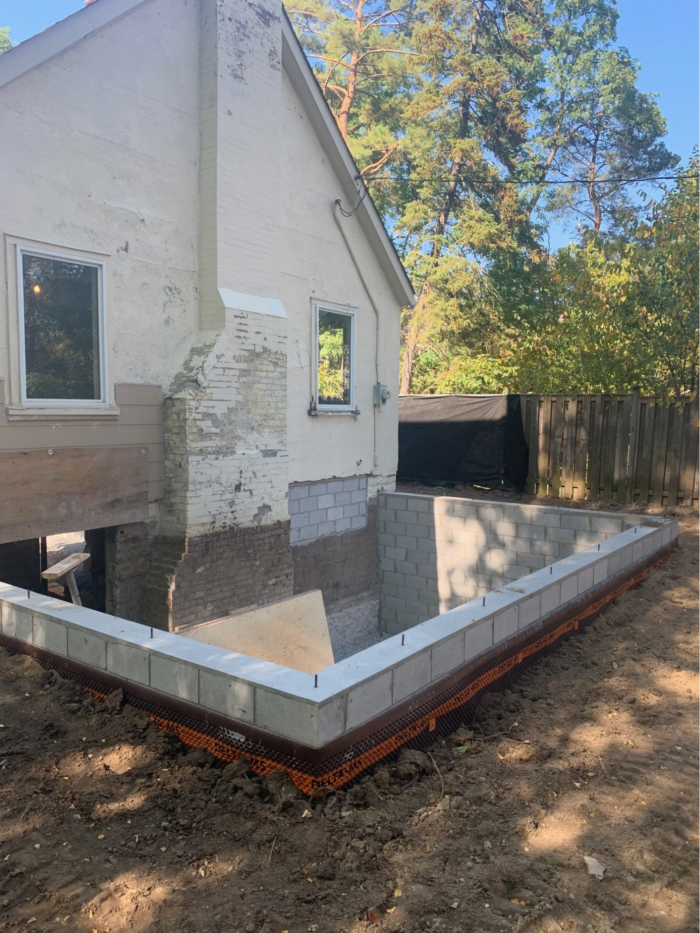
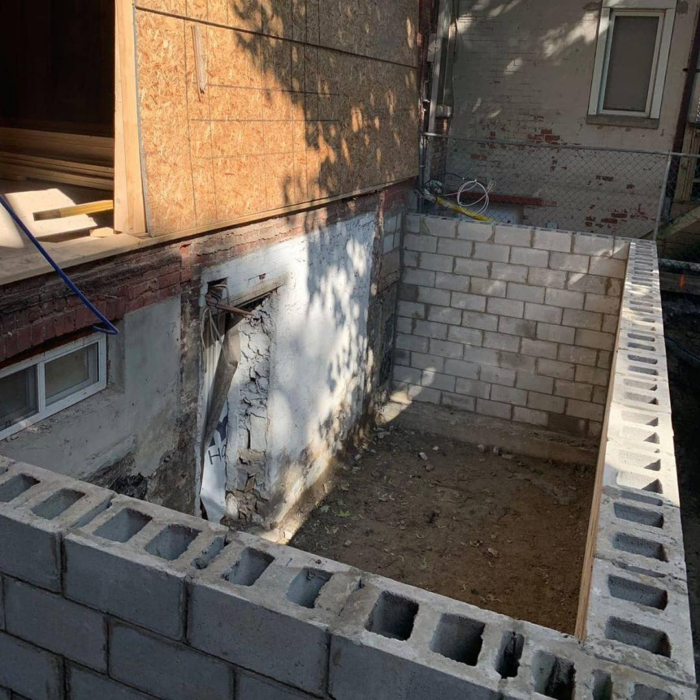
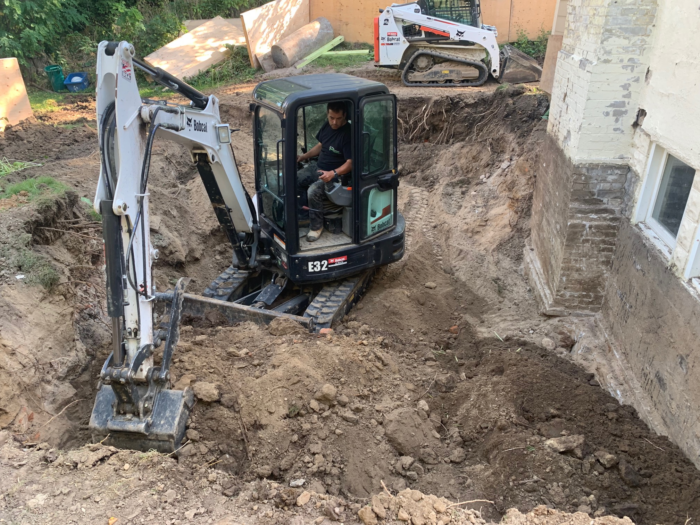
This is the core of the process. The contractor excavates beneath selected sections of the existing foundation wall according to the engineer’s plan. New concrete is then placed below the old footing to create a deeper and stronger support base. After that section has cured, the crew moves to the next one. Over time, the full foundation is underpinned in sequence.
A simplified version of the process looks like this:
| Stage | What happens | Why it matters |
| Layout | The sequence is marked out in sections | Keeps excavation controlled |
| Sectional excavation | Small areas below the footing are dug one at a time | Prevents loss of support |
| Reinforcement and forming | Steel and formwork are installed as specified | Helps achieve structural strength |
| Concrete placement | New underpinning concrete is poured | Creates a deeper foundation support |
| Curing | Each section gains strength before the adjacent work begins | Maintains stability |
| Repetition | The sequence continues around the basement | Completes the underpinning system |
Toronto’s residential underpinning documentation specifically refers to numbered stages of underpinning work in the plans. That staged approach is not just paperwork. It reflects how the work is safely carried out in practice.
This is also why homeowners should be cautious about anyone describing underpinning as “just digging down the basement.” Done properly, it is a structural process first and an excavation project second.
Step 5: lowering the floor, upgrading drainage, and addressing moisture
After the underpinning sections are completed, the basement floor area can be excavated down to the new level. This is when the project starts to look more like a transformed basement instead of a structural repair.
At this stage, the work often includes:
- digging out to the final floor elevation
- updating below-slab plumbing where needed
- installing drainage components
- adding gravel and sub-base layers
- placing a vapor barrier where specified
- pouring a new concrete slab
This is also the best time to deal with water management. Moisture is one of the main reasons older basements remain uncomfortable even after expensive finishing work. Canadian housing guidance has long emphasized that basements should be assessed for moisture issues before renovation, and it recommends measures such as exterior dampproofing or waterproofing, perimeter drainage, and sump pump protection where needed. Natural Resources Canada also notes that basement projects often need extra time for excavation, crack repair, exterior waterproofing, and drainage system installation.
That is why many homeowners pair underpinning with waterproofing improvements. If you are already opening the basement and working around the foundation, it is often the right moment to think beyond structure alone. Working with a waterproofing company that Toronto homeowners trust can help reduce the risk of future dampness, leaks, and rework.
Step 6: inspections, structural completion, and rebuilding the basement
Underpinning is not finished when the concrete is poured. The project still needs inspections, cleanup, and the transition from structural work to finished construction. Depending on the scope, this can include framing, insulation, electrical, plumbing, flooring, drywall, and heating upgrades.
Homeowners should expect the final phase to include:
- required inspections at key stages
- confirmation that the underpinning and slab work match the approved drawings
- crack review or touch-up where needed
- moisture-control checks
- coordination with renovation work above the slab
If the end goal is a comfortable living space, this is also when design choices matter. Basement layouts, ceiling details, lighting, flooring, and heating all affect whether the space feels like part of the home or just a nicer basement. For many downtown projects, homeowners also explore heated floors at this point because the floor system is already being rebuilt.
Common questions homeowners ask before starting
How long does basement underpinning take?
It depends on the house, access, soil removal logistics, permit timing, and whether the project includes renovation work. The structural phase alone can take weeks, while a full basement transformation takes longer.
Is it underpinning the same as a regular basement renovation?
No. Renovation focuses on finishes and layout. Underpinning is structural work that changes and reinforces the foundation so the basement can be lowered safely.
Do all underpinning projects need waterproofing?
Not every project needs the same waterproofing scope, but moisture planning should always be part of the conversation. Once the basement is opened up, it makes sense to address drainage and water protection where conditions justify it. Canadian guidance on basement renovation and moisture supports checking these issues before finishing the space.
Is a permit required in Toronto?
In most cases involving basement underpinning or foundation excavation, yes. Toronto’s permit guidance says this kind of work requires a building permit.
Conclusion: a stronger foundation and a more useful basement
Basement underpinning is not a cosmetic upgrade. It is a structural process that must be planned carefully, engineered properly, and completed in stages. For older homes in downtown Toronto, it can solve low ceiling height, improve foundation performance, and open the door to a far more useful basement.
The main takeaway is simple: good underpinning work starts with a clear plan, follows a strict sequence, and treats drainage and long-term basement performance as part of the same project. When homeowners understand the steps, they are better equipped to make sound decisions and avoid shortcuts that create problems later.
If you are thinking about lowering a basement or improving an older foundation, RockBottom Underpinning focuses on precise residential work in tight urban Toronto conditions. To learn more or request a consultation, visit rockbottomunderpinning.com.